“Sushi” Dessert Tray
Kate Wildrick, April 10, 2024
Sushi is an exciting way to try many different flavors and textures. However, if you were like me as a kid, sushi was not something that would come to the top of my list for a requested entree to enjoy. As part of our intentional cooking experiments happening in the Prosperity Private Club space, one of the pursuits we are passionate is about is creating experiences that open children and adults up to exploring the possibilities through all of the senses. When I ran across a sushi dessert tray idea, I knew in my heart that this one would be perfect to do. Who doesn’t like to play with their food and enjoy it.
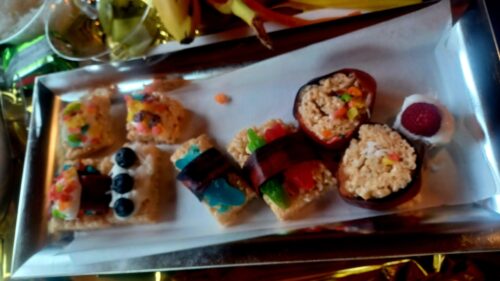
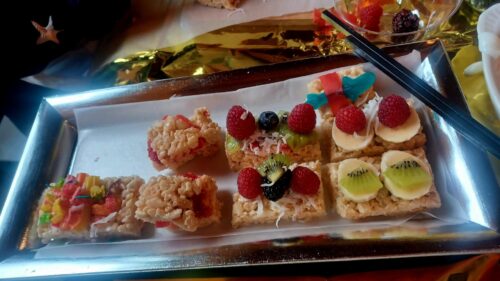
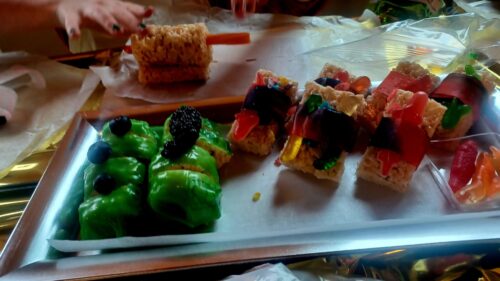
Given that, we decided to schedule an event to do this class on Saturday, March 9, 2024. Twelve children were invited to participate in this experience to create one of a kind sushi desserts that incorporated a myriad of tasty and colorful treats and textures. In exploring how others had created their sushi dessert trays, rice crispy treats served as the base structure in which gummy candy worms, licorice or others chewy desserts could be nestled and folded to create the sushi roll. Next, colorful fruit leathers and gummy fish garnishments were incorporated to give a finishing texture and look. In slicing the roll and arranging each one of these sushi morsels onto a platter, participants could proudly display their fantastical creations.
As my mind began to explore the possibilities of what kind of decorative elements could be made available for the class, I also wondered what other healthier and fun options might be possible to showcase. My research led me to banana sushi rolls where bananas were coated in a greek yogurt and rolled in coconut and granola or cereal. They were sliced and garnished with tiny berries or sliced kiwi. I even found a lower carb rice crispy treat recipe that substituted marshmallows for brown rice syrup. It wasn’t long before I had a game plan and a shopping list of ingredients that I wanted to work with.
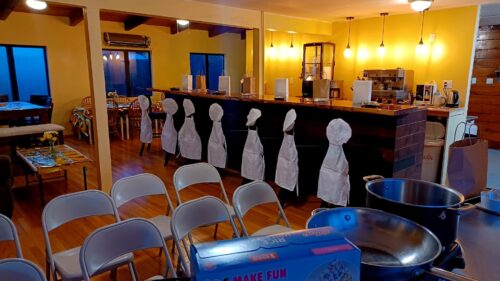
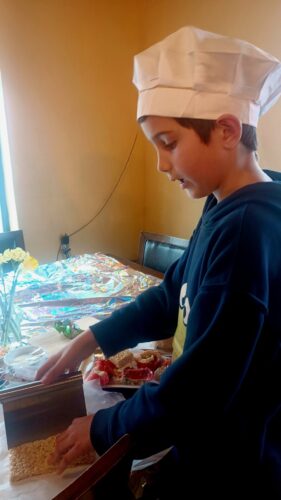
As with any event we do, we want to make sure the experience we provide is special. In this class, I decided to put together a special chef set where each child was able to receive a chef apron, chef hat, decorative platter to display their creations, fancy chop sticks, and a dipping sauce tray for them to make their own yogurt dip for their sushi rolls. It was truly magical when the children and parents entered into the space to participate in the event.
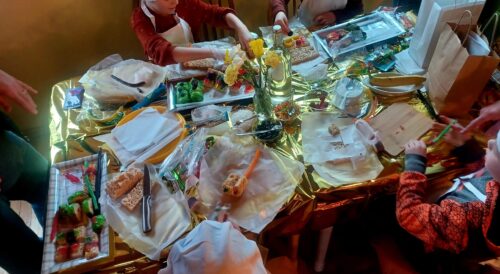
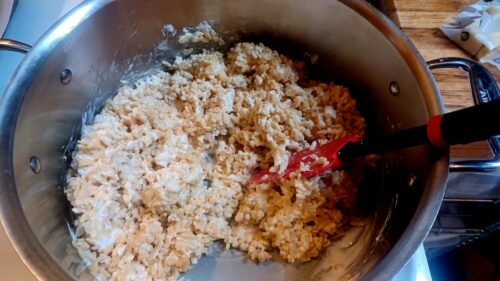
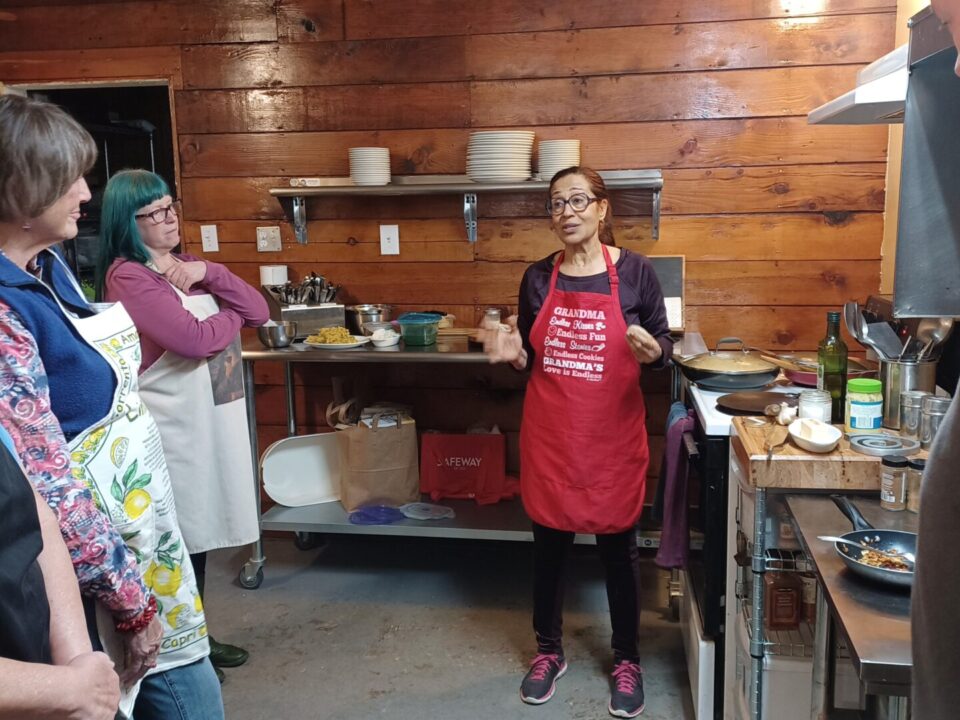
After introductions and welcomings, we jumped into learning how to make a batch of rice crispy treats from scratch. (I had prepared several other batches ahead of time to hand out as part of the class to save time.) From there, we offered a taste testing to see how the original recipe went up against the marshmallow free recipe. (Surprisingly, many kids and parents liked it!) From there, we opened up their chef sets and set them off to work on creating their sushi trays. The creativity and excitement that filled the space was truly wonderful. What I thought would take 30 minutes to do lasted nearly an hour. Each child really went above and beyond with their parent(s) to create a culinary masterpiece that was bursting with color, flavor, creativity and texture. It was truly a joy to see parents and kids connecting over this experience.
Towards the end of the event, we invited everyone to share what they created with the group. It was a lot of fun to hear about their process in deciding what they wanted to use and make given the many choices available. In proudly displaying what they made, we then asked them what they liked about this event. Besides the obvious answer of candy, they loved being able to play with food and make something that the could share with others. Parents started to get ideas around future birthday parties and provide the same experience to their children’s friends.
Sushi Dessert Tray Challenge
The truth is there is a lot of ways that you can expand on what we created here. In fact, this is something that we absolutely encourage! In saying that we hope that you will consider participating in the Sushi Dessert Tray Challenge where you and your family and friends look at what you can do to create your own sushi dessert tray. We would love to hear what you come up with and also receive insights around what ingredients and recipes you chose to work with to make your desserts. We plan on hosting this event again in the future and it would be wonderful to highlight and showcase some of what others share with us. Given that many people have different tastes, preferences and dietary restrictions, we would love to feature many ideas to inspire even more creativity.
To get started, I am including what we used as part of our class along with some recipes for the rice crispy treats.
Class Ingredient List & Recipes
We made 5 batches of rice crispy treats ahead of time. Each batch was rolled out to be around 1/2″ thick. They were cut into rectangles so they could be easily filled, rolled and later cut. Each rectangle was wrapped in wax paper ahead of time and made it much easier for kids and parents to work with.
The 6th batch was the demonstration batch and was helpful to have on hand in case of any mishaps that might happen. Extra rice crispy treats were left over and were given out for kids to take home to continue to work with and share with their family and friends. We received a lot of kind thank you’s and positive feedback for this extra touch.
Rice Crispy Treat Recipe
Ingredients:
- 3 tablespoons butter
- 1 package (10 oz., about 40) JET-PUFFED Marshmallows
- OR
- 5-1/2 cups JET-PUFFED Miniature Marshmallows
- 6 cups Kellogg’s® Rice Krispies® cereal
Directions:
- 4 cups gluten-free or regular Rice Krispies or crisp rice cereal
- ½ cup brown rice syrup
- 3 Tbsp butter (for dairy-free use Earth Balance or vegan margarine)
- 1 tsp vanilla
Chocolate Drizzle:
- 2 Tbsp stevia chocolate chips (or regular semi-sweet)
- ¼ tsp coconut oil (or oil of choice)
- In a medium sized pot over the stove, melt the butter over medium heat. Add in the brown rice syrup and stir until combined.
- Cook the butter and brown rice syrup together until it just comes to a rolling boil.
- Immediately remove from heat and add 1 tsp vanilla and stir.
- Quickly add in the 4 cups of rice krispies, and stir together until all the cereal is coated.
- Press the mixture into an 8×8 pan (I lightly sprayed mine with coconut oil). The mixture is sticky, so to avoid it sticking to your hands, press into the pan with a sheet of plastic wrap.
- Allow to cool in the fridge for at least an hour.
- When bars are almost ready, prep chocolate drizzle. In the microwave or stove, melt together chocolate chips and coconut oil…the oil helps to thin it out a touch.
- If using microwave, you’ll only need about 30 seconds to melt it.
- Using a fork, drizzle the chocolate over the cooled rice krispie squares.
- Return to the fridge till the chocolate is set.
- Cut into bars, and keep stored in the fridge in the pan (covered) or transfer them to a sealed container stored in the fridge.
Other Decorative Ingredients
The other decorative elements and ingredients we included in the class included:
- Fruits (Bananas, blueberries, raspberries and kiwi)
- Shredded coconut
- Fruity rice crispy pebbles
- Strawberry Banana and Plain Greek Yogurt
- Gummy worms
- Fruit leather (strips and roll ups)
- Flavored licorice
- Gummy sharks
- Swedish Fish
In Conclusion
If you spend some time with this idea and even take a moment to get inspired by looking at what others have creatively come up with on the internet, you are sure to find something that will pique your interest. Given the level of engagement and feedback we received, we definitely plan on doing this one again.

